Lower back pain can result from various daily activities like sleeping, exercising, or sitting, among others. Although the pain can be unbearable, a combination of aerobic and strength exercises, coupled with regular stretching, can help alleviate and prevent lower back pain.
While stretching may not heal all back pain, it can be useful for those with tight hips and legs. By strengthening and loosening up these muscles, you can experience relief from lower back pain. Additionally, experts recommend exercises that improve core strength, posture, stability, and flexibility to help alleviate back pain. However, if you continue to feel pain for more than two weeks, or you mainly feel discomfort, to consult your doctor would be the best idea.
Performing lower back stretches
Before attempting lower back stretches, it’s essential to proceed with caution, especially if you have a pre-existing injury or any health concerns. In case of any pain, consult your doctor before starting any exercise routine. Also, consider if you are flection or extension sensitive, which can help you choose the most suitable stretches for your condition.
When performing lower back stretches, aim to hold each stretch for at least ten seconds and preferably for 30 seconds or more. The longer you hold the stretches, the better the pain-relieving benefits. Don’t rush through the movements, but rather take the opportunity to relax and renew by playing soothing music. Additionally, focusing on using your breath can help you deal with any discomfort.
It’s crucial to incorporate other activities like walking into your daily routine in addition to these stretches. Now, try out these expert-recommended lower back stretches for pain relief.
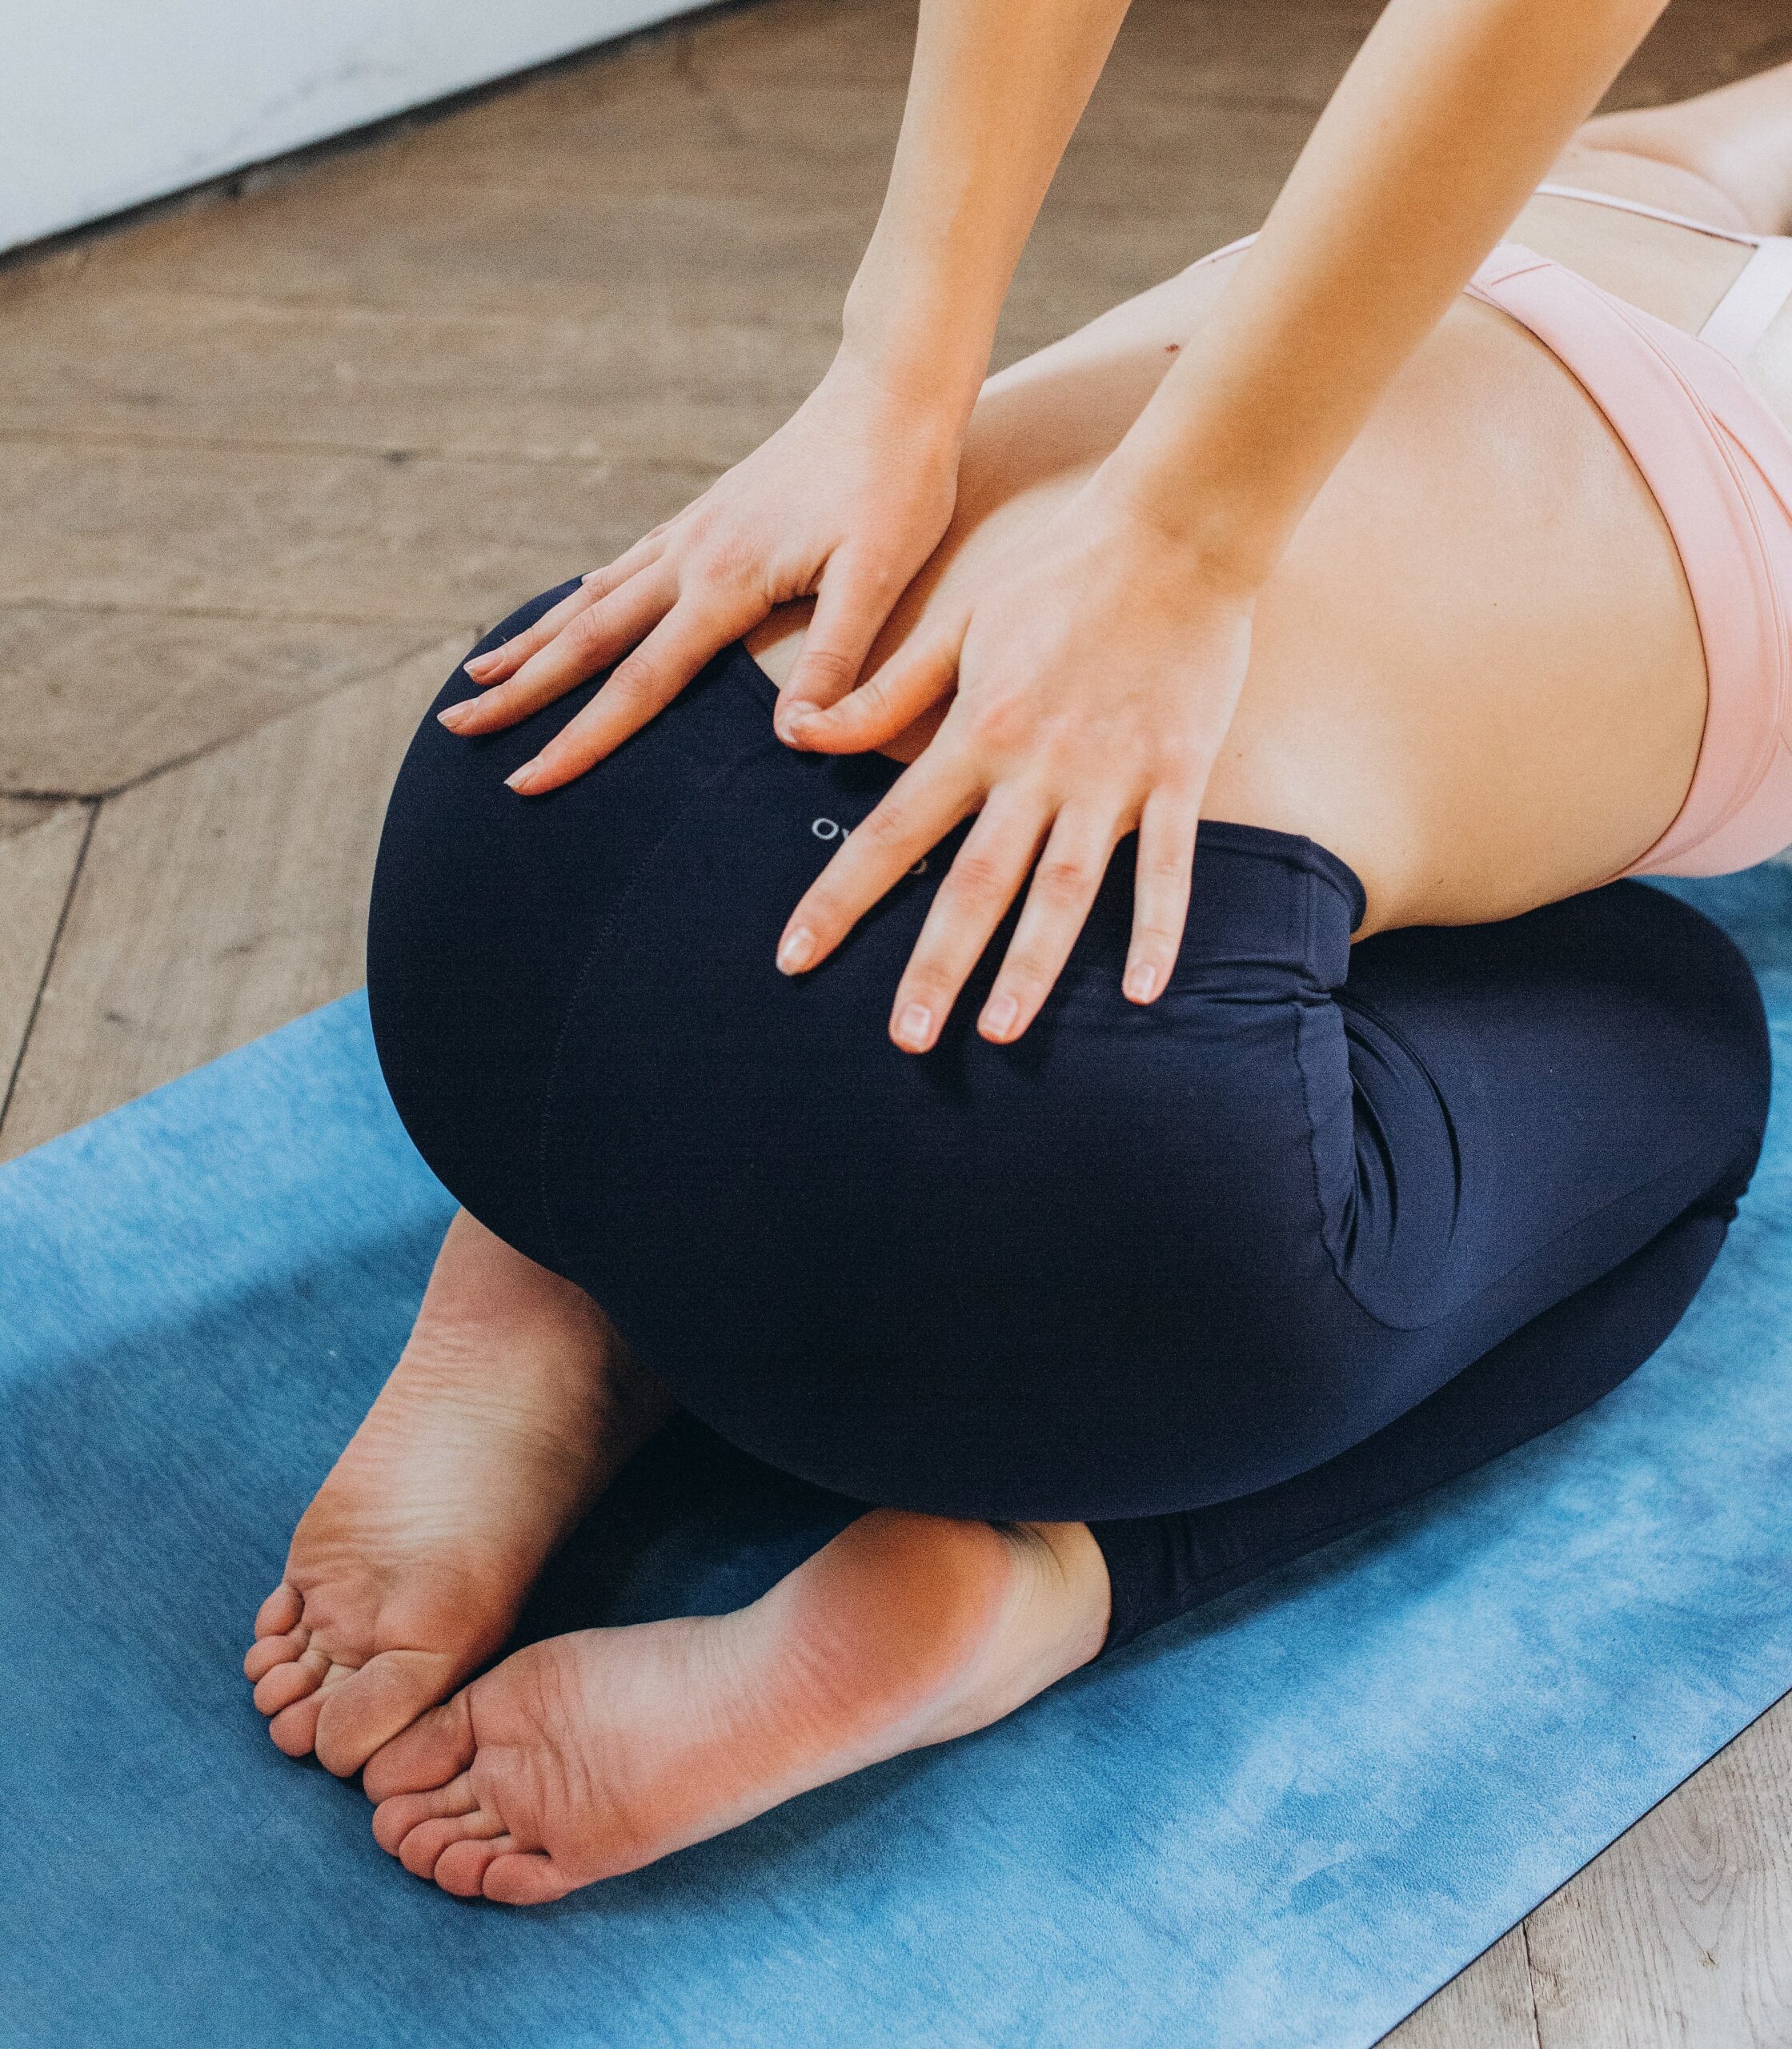
1. Child’s Pose
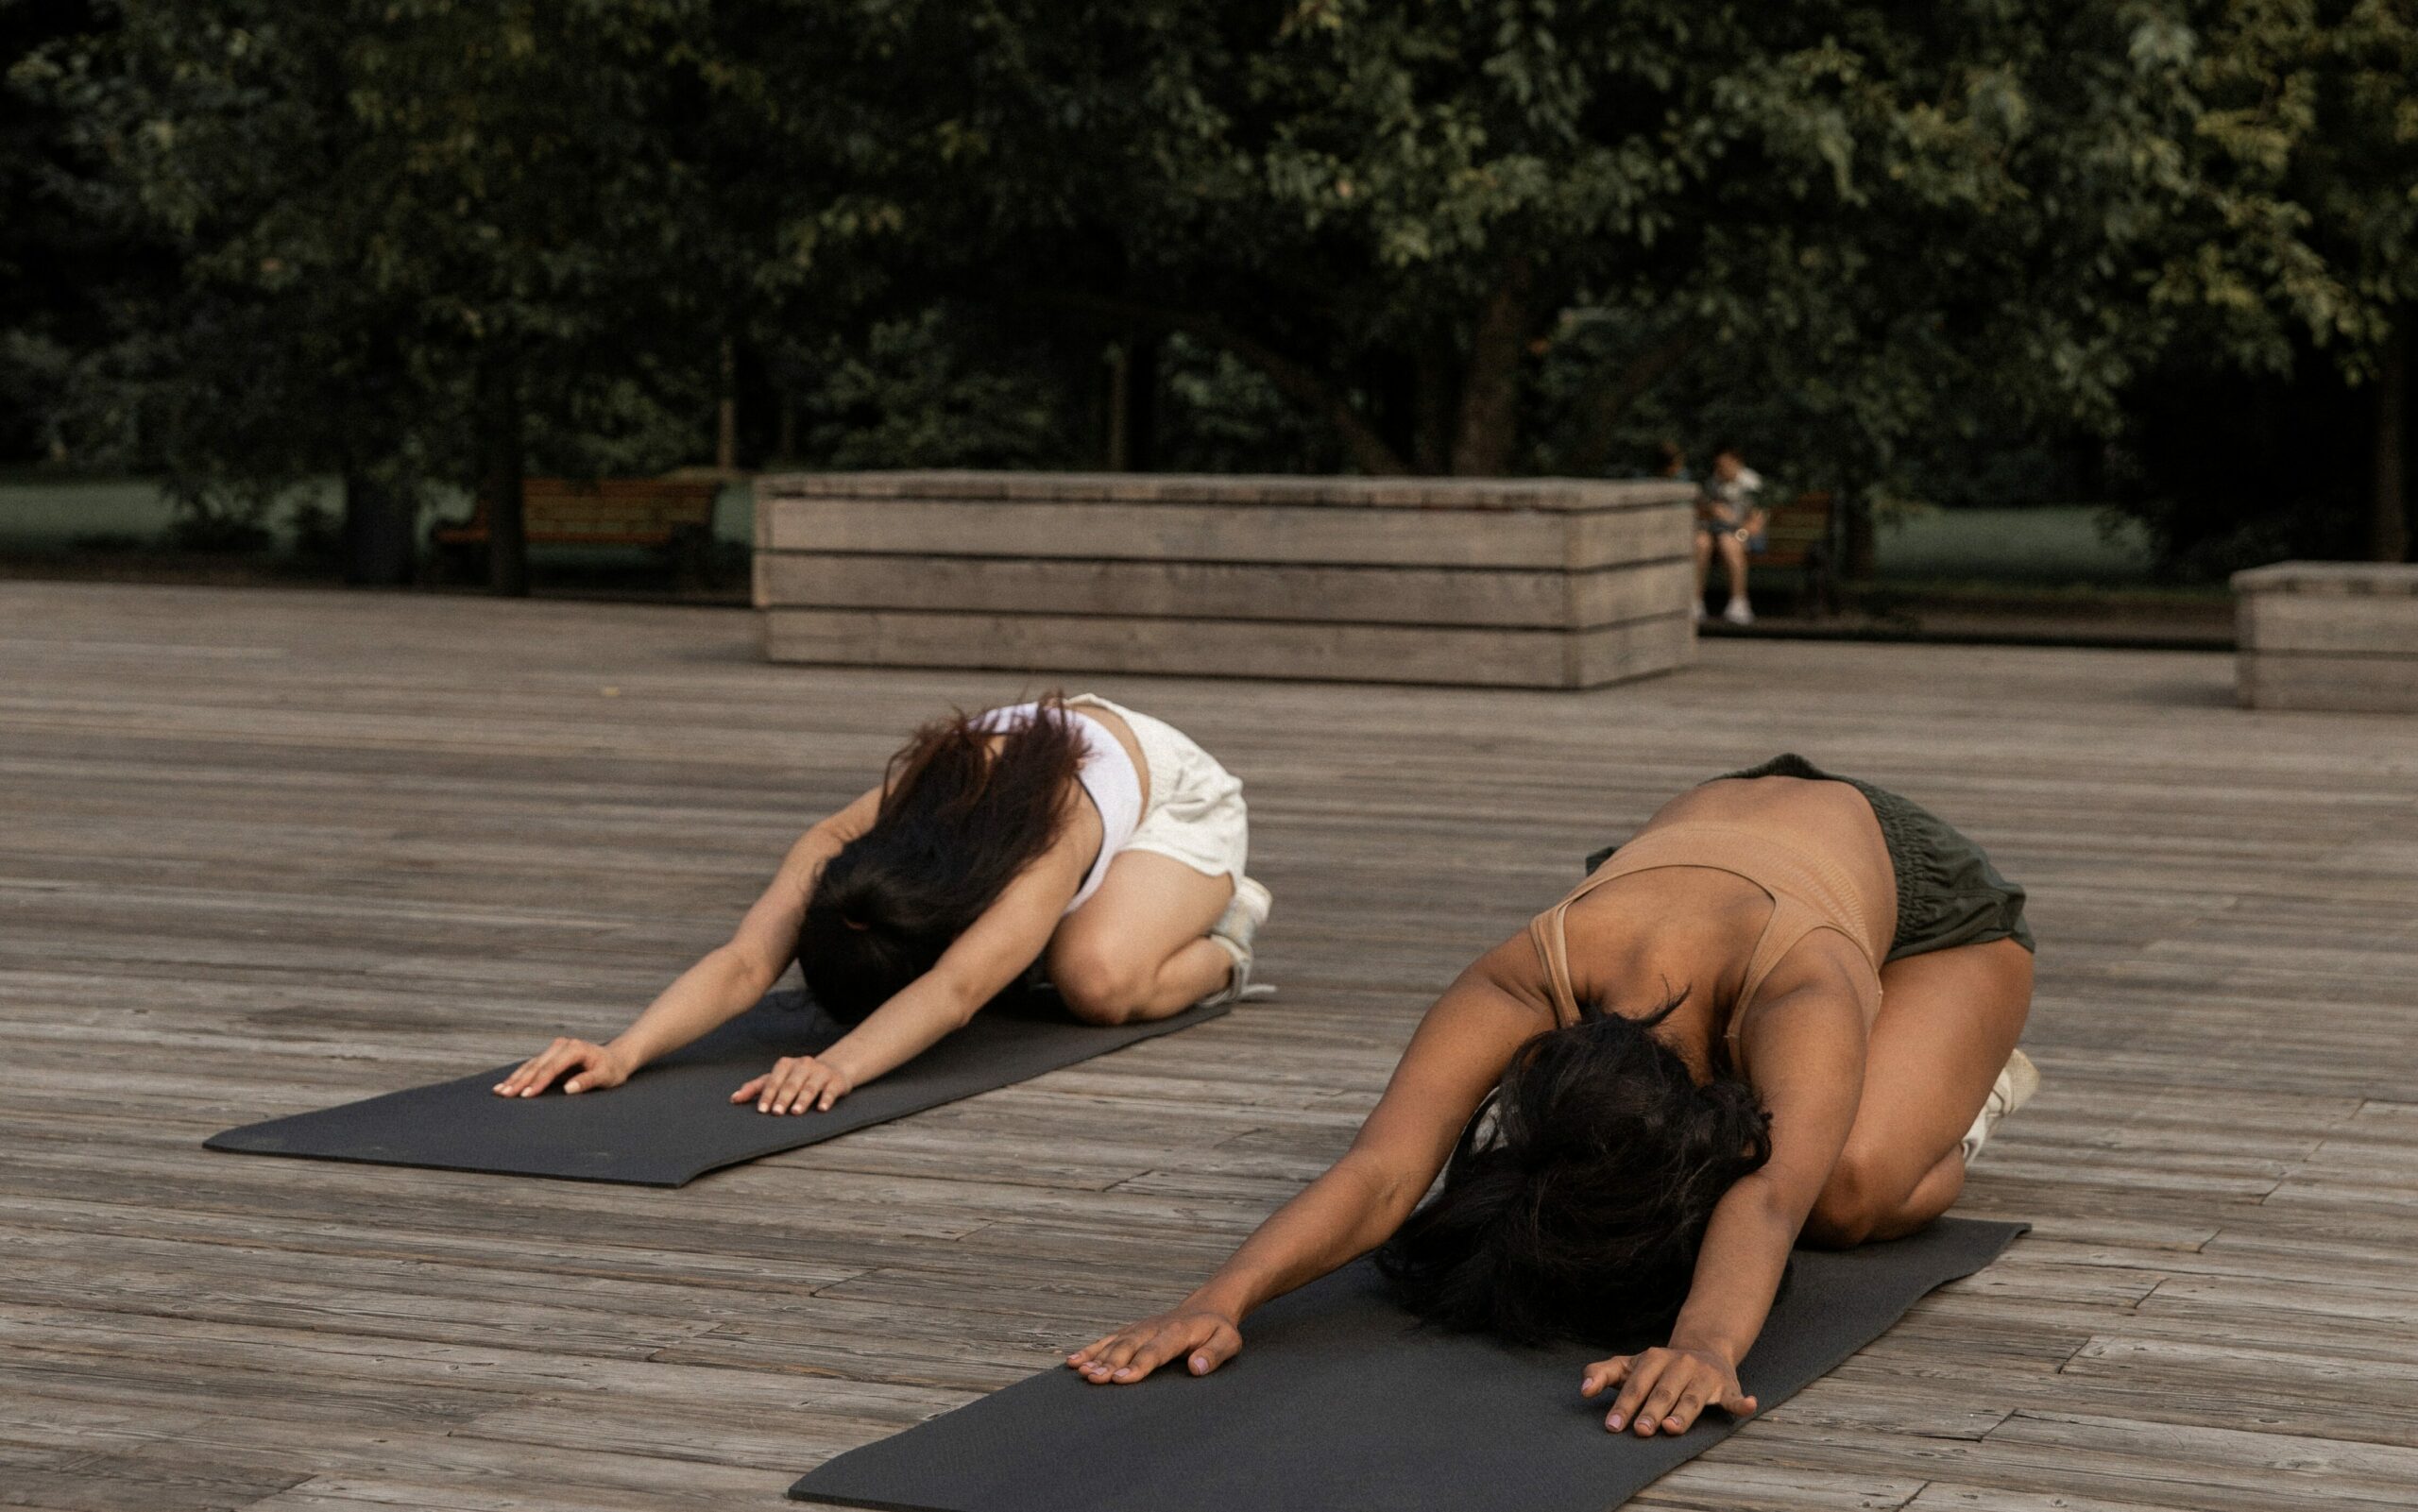
If you are experiencing lower back pain, this yoga pose can help by gently stretching the contracted muscles. Additionally, it can also help loosen your hips. If you have a hip problem, widen your knees to your comfort level.
How to do a child’s pose: Start on all fours in a tabletop position with your hands under your shoulders and knees under your hips. Extend your arms forward, and place your palms on the floor. Slowly sit back towards your heels, letting your head and chest drop as your arms stretch out towards the wall. If the stretch is too intense, place a pillow under your belly for support. Hold for 20-30 seconds or longer.
2. Cat/Cow Stretch
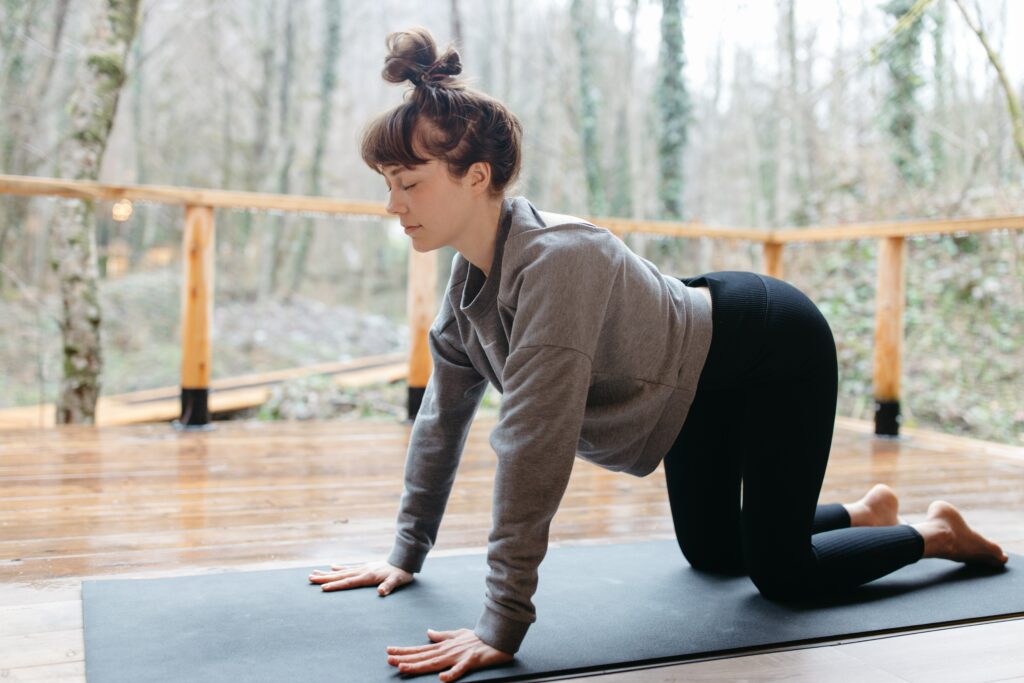
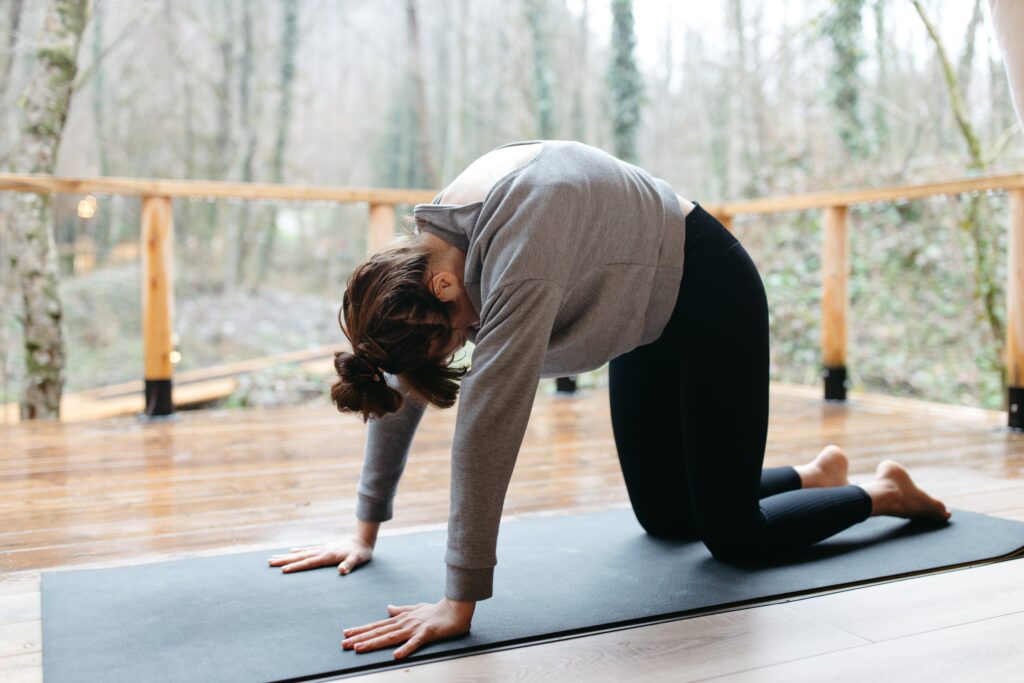
This active movement targets the low-back muscles from two different directions and builds upon the benefits of the Child’s Pose to alleviate tension and elongate contracted muscles. It also enhances core strength and balance Focus on your pelvis during this exercise by pretending that you have a tail to tuck under or stick toward the ceiling.
How to perform the Cat/Cow Stretch: Start in a tabletop position with your hands under your shoulders and knees under your hips, with your spine parallel to the floor. Round your back, stretching your mid-back between your shoulder blades like a cat. Hold this position for five seconds, then relax and let your stomach drop down as you gently arch your low back and hold for another five seconds. Repeat these movements for at least 30 seconds, or longer.
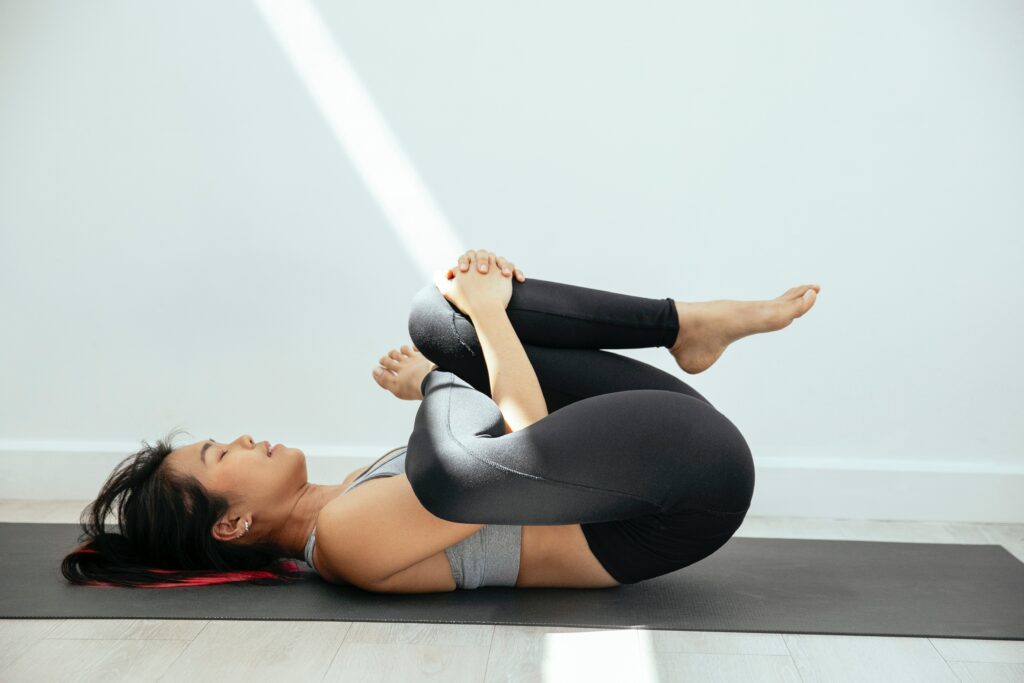
3. Knee-to-Chest Stretch
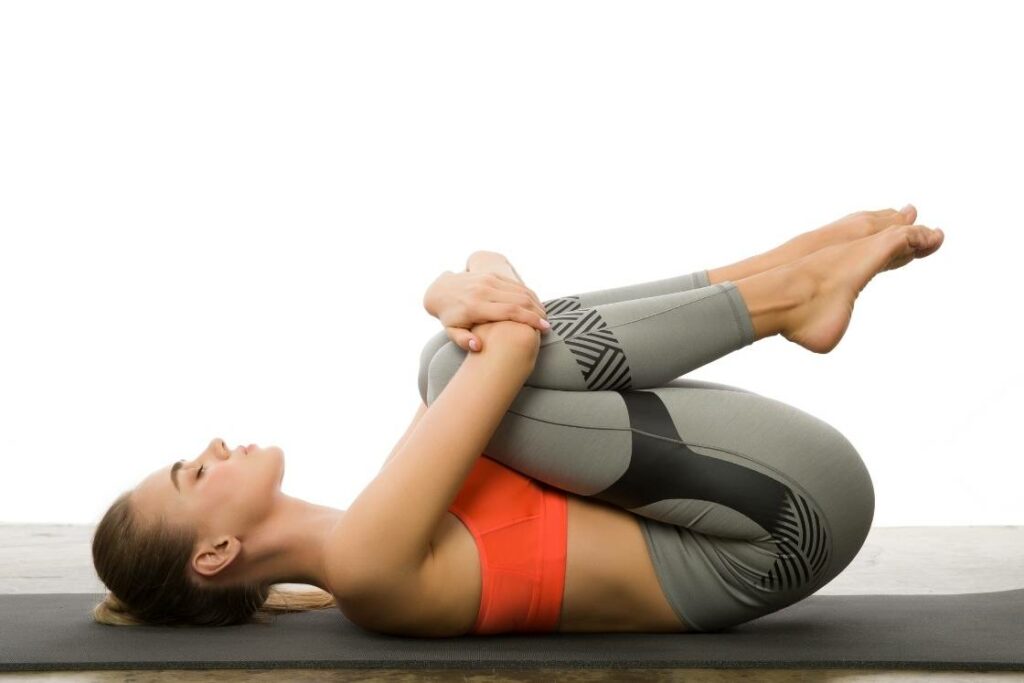
This stretch is also effective in lengthening and stretching contracted muscles in the lower back, similar to the other stretches in this list. Try this pose if the Child’s Pose is too challenging on the hands and hips.
How to perform the Knee-to-Chest Stretch: Lie on your back with your knees bent and your feet flat on the floor. Place your hands behind your knees or just below your kneecaps. Gradually pull your knees towards your chest, using your hands to provide gentle support. Hold this position for 20 to 30 seconds, and try swaying your hips sideways and up and down to help massage your lower back. Return to the starting position.
4. Bridge Pose
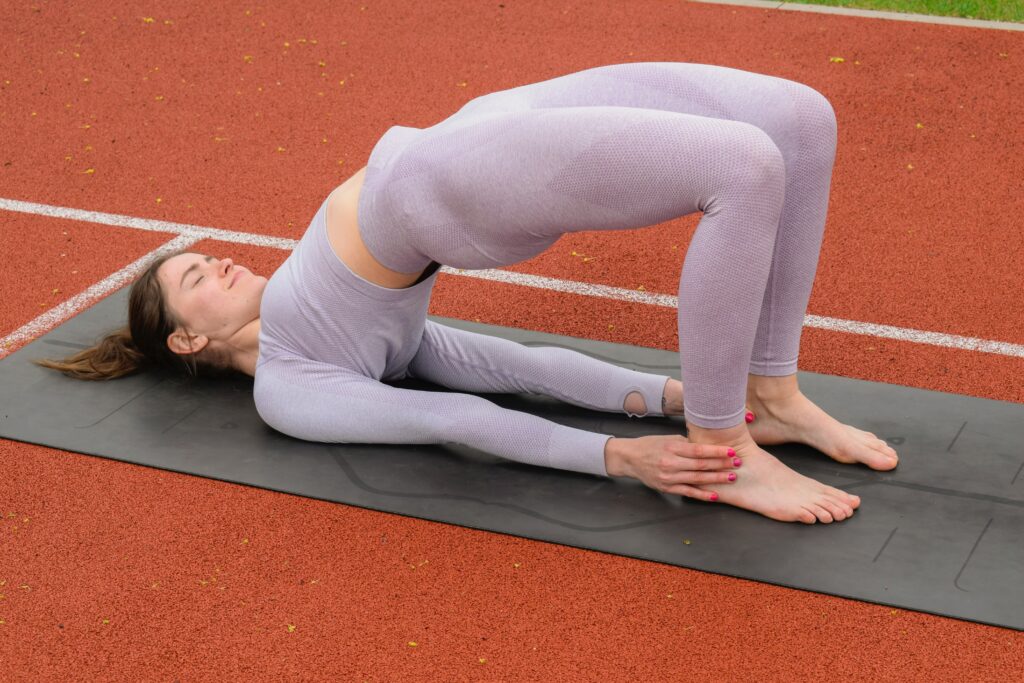
Softening around your sacrum allows some tension around the low back to be released and lengthening through the sit bones encourages activation of the lower part of your gluteus maximus, which helps to support your low back, releasing pain and tension. In addition, this stretch can also benefit the chest and hips, while simultaneously strengthening the back, buttocks, and hamstrings.
Here’s how to do the bridge pose: Begin by lying on your back with your knees bent and feet flat on the floor, hip-width apart. Place your arms flat on the mat alongside your body with your palms facing down. Press your feet into the mat and lift your hips, creating a straight line from your shoulders to your knees. Focus on softening your sacrum and lengthening your sit bones toward your knees. Hold for 30 seconds before slowly lowering your hips back down to the mat.
5. Pigeon Pose
Opening up tight hip flexors can be a great way to alleviate lower back pain, and one effective way to do this is through practicing the extended half-pigeon posture. This posture serves as a great mobility exercise and hip stretch. In a small study conducted on individuals with chronic back pain, it was found that practicing yoga, including pigeon pose, for eight weeks resulted in a 9% reduction in pain.
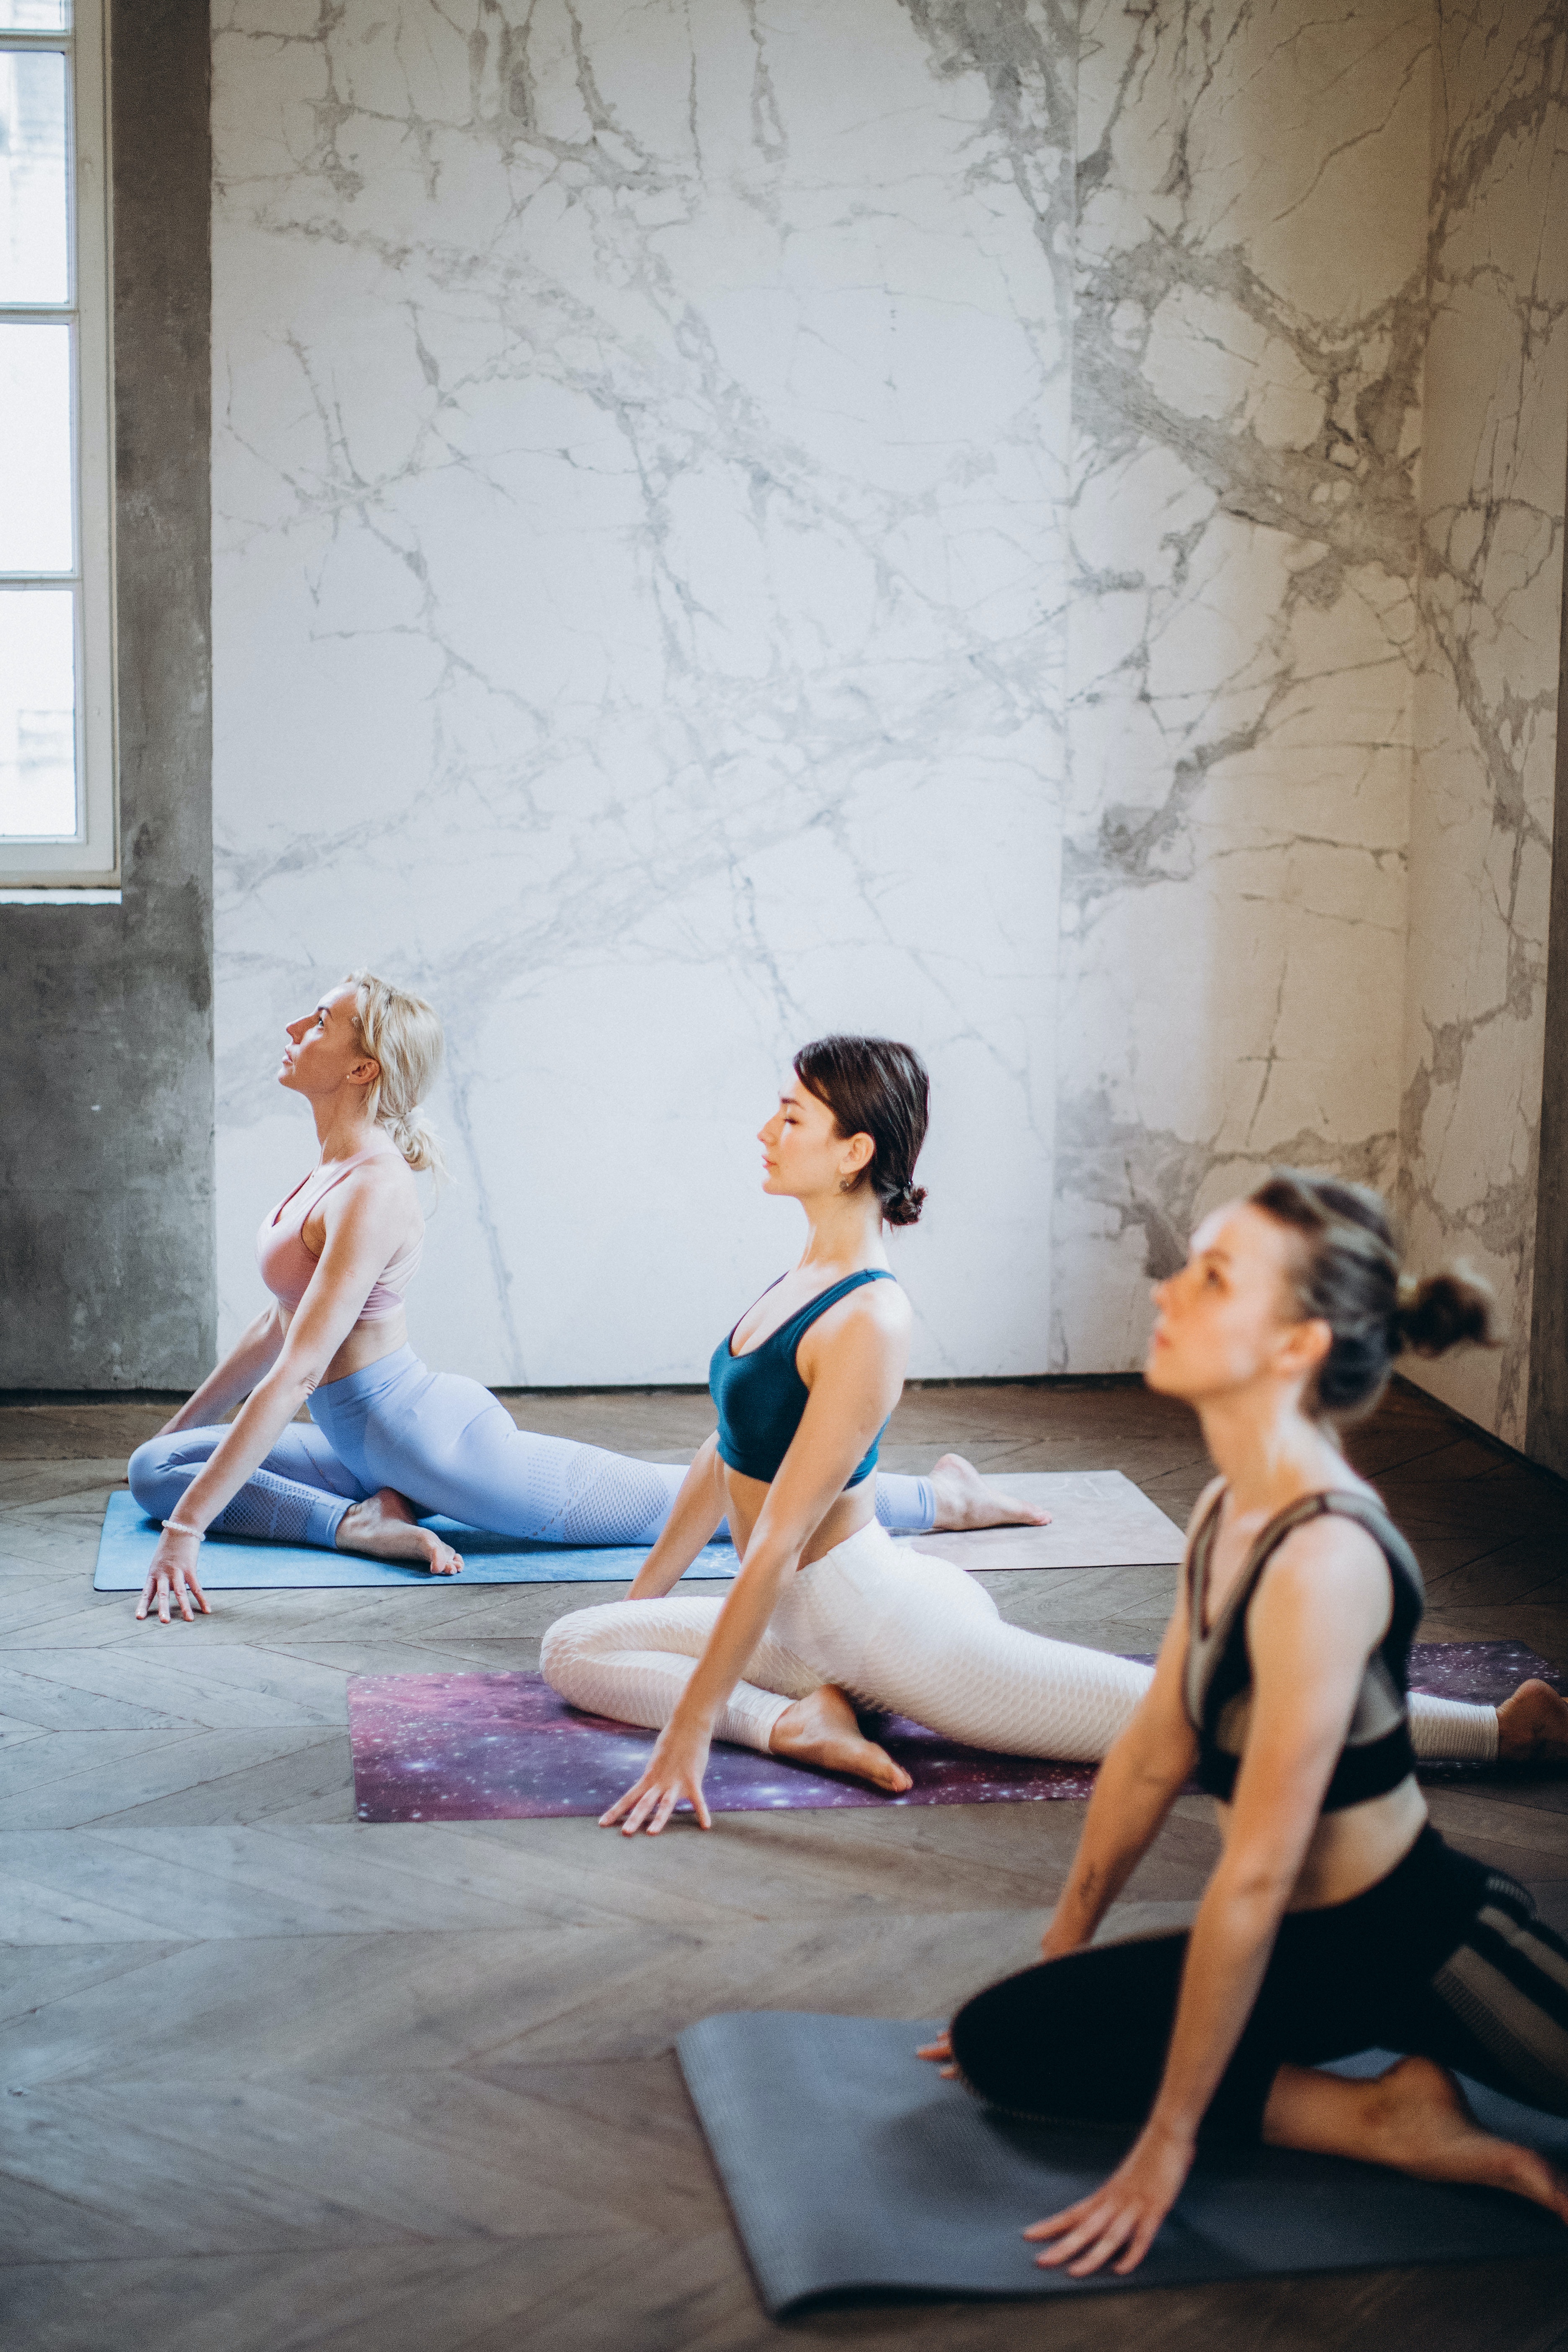
Here’s how to do pigeon pose: Starting in Downward-Facing Dog, inhale as you lift your right leg up towards the sky for Three-Legged Downward-Facing Dog. On your next exhale, bend your knee and place your right knee towards your right wrist. Lower your right shin so that it becomes parallel to the top of your mat (it may be at an angle depending on your hip flexibility, and that’s totally OK!) Gently slide your left leg back toward the end of your mat. Feel free to stay here, or you can bend your arms at the top of your mat and lower your head onto the top of your hands. Hold for 7 to 10 breaths.
6. Supine Twist
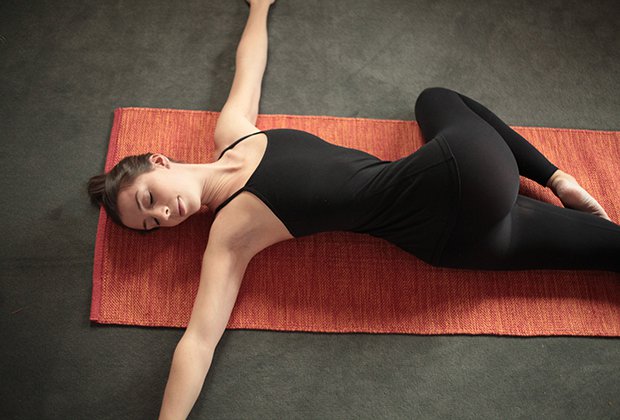
The supine twist not only stretches your lower back but also your glutes, which can tighten and cause more pain during a low back episode. This stretch is also effective in enhancing spinal flexibility.
How to do a supine twist: Begin by lying on your back with your knees bent and feet flat on the floor. Extend your arms out to the sides in a “T” position. While keeping your shoulders on the ground, gently roll both knees to one side. Hold this position for 20 to 30 seconds, then return your knees to the center and repeat on the other side. If you find the stretch too intense, place a pillow or a stack of blankets under your knees when you twist to each side.
7. Half Lord of the Fishes (Ardha Matsyendrasana)
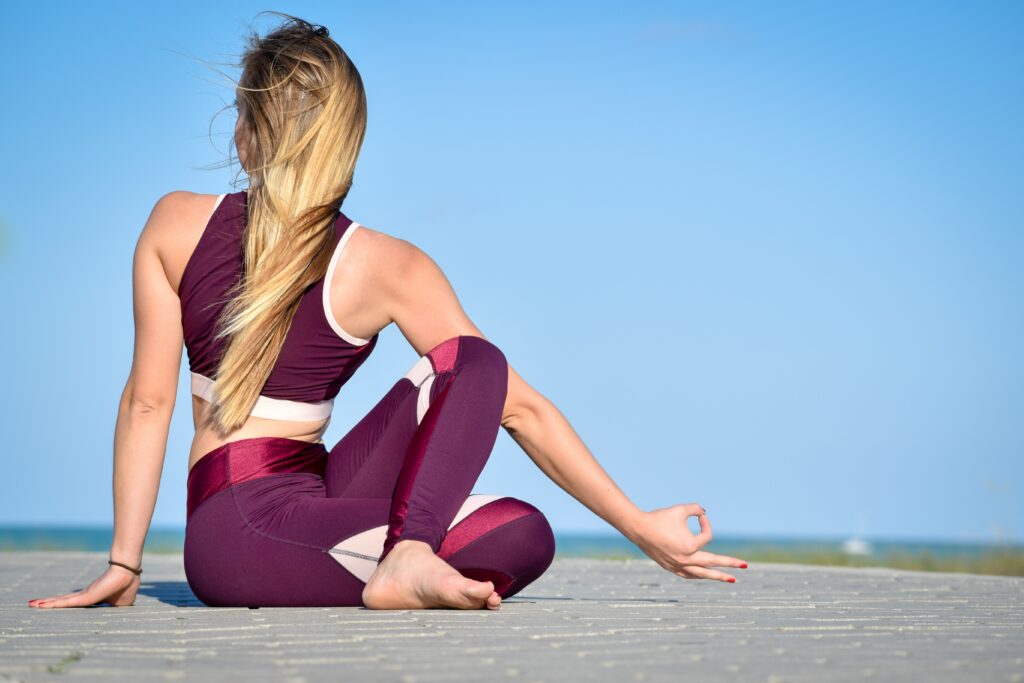
Ardha Matsyendrasana, also known as Seated Twist posture, is an effective stretch for improving posture and spinal mobility in people experiencing lower back pain. It’s important to avoid collapsing your lower back while performing this posture, and remember that even a slight twist can have a significant impact on reducing lower back pain.
How to do half lord of the fishes posture: Begin in a seated position with your legs extended in front of you (dandasana). Lift your right leg and place your foot on the ground next to your left knee. Bend your left leg and place your left foot on the outside of your right hip. Press down through your hip bones, and inhale as you lengthen your spine. Hook your left elbow on your right knee, and place your right hand behind you as you gently twist. Hold for 5 to 8 breaths.
8. Forearm Plank

Performing a forearm plank can strengthen your core muscles, alleviating some of the pressure on your lower back.
Here’s how to do it: Start in a push-up position and then lower your forearms onto the mat, ensuring they are directly under your shoulders. You can interlace your hands or keep your forearms parallel to each other, depending on your comfort level. Push through your heels and engage your core. Hold the pose for at least 30 seconds and aim to work up to one minute.
9. Cow-Face Pose
The cow-face pose targets the outer glutes, which can contribute to lower back pain when they become tight. Additionally, Hashish this pose can alleviate tightness in the hips, ankles, shoulders, and chest.
How to do the cow-face pose: Begin in a seated position and bend your left knee, bringing your heel towards your right buttock while keeping your left knee pointing straight ahead. Next, cross your right leg over the left, stacking your knees one on top of the other. Your feet should be on either side of you, toes pointing behind you. Keep your spine long and sit up tall or add a slight forward bend to intensify the stretch.
10. Reclining Hand-to-Big Toe Stretch
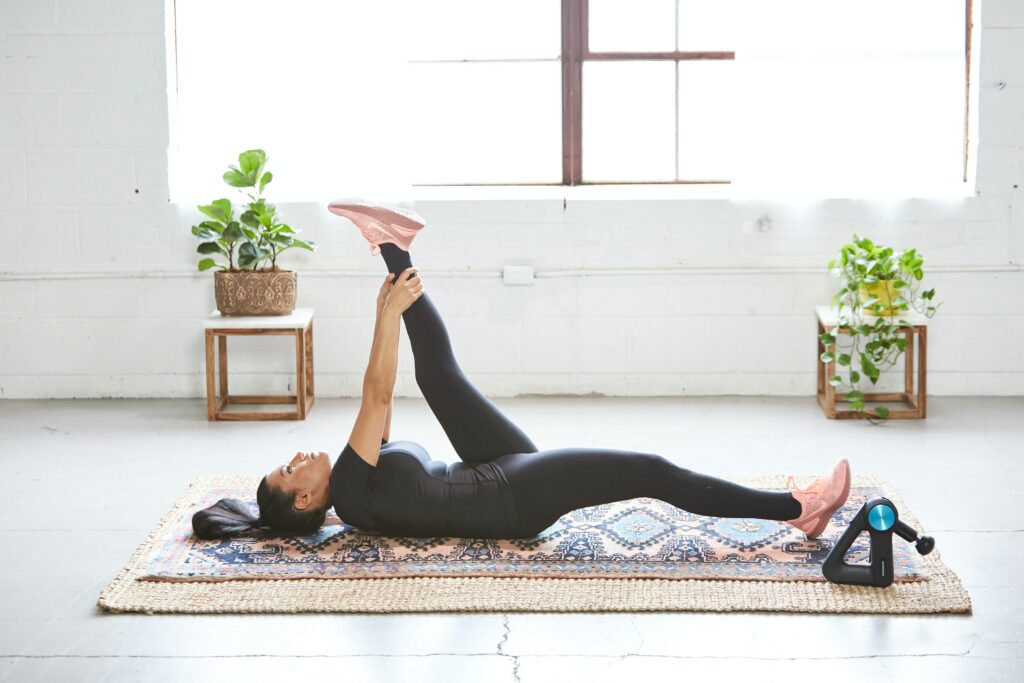
Tightness in the hamstrings and adductors, or inner thighs, can cause lower back tightness. This pose can alleviate the tightness by stretching the back of the legs, ankles, calves, and hamstrings. However, perform this stretch if it causes shooting pain down one leg only.
How to do a reclining hand-to-big-toe stretch: Lie on your back and lift your right leg up towards your face. Interlace your hands behind your thigh or calf, depending on how tight your hamstrings feel. Keep your opposite leg active and grounded on the floor. Your head and shoulders should remain on the ground. Hold for 10 breaths. Next, keeping your opposite hip grounded, lower your right leg out to the right. Lower your leg only as far as you can without lifting the opposite hip.
11. Pelvic Tilt
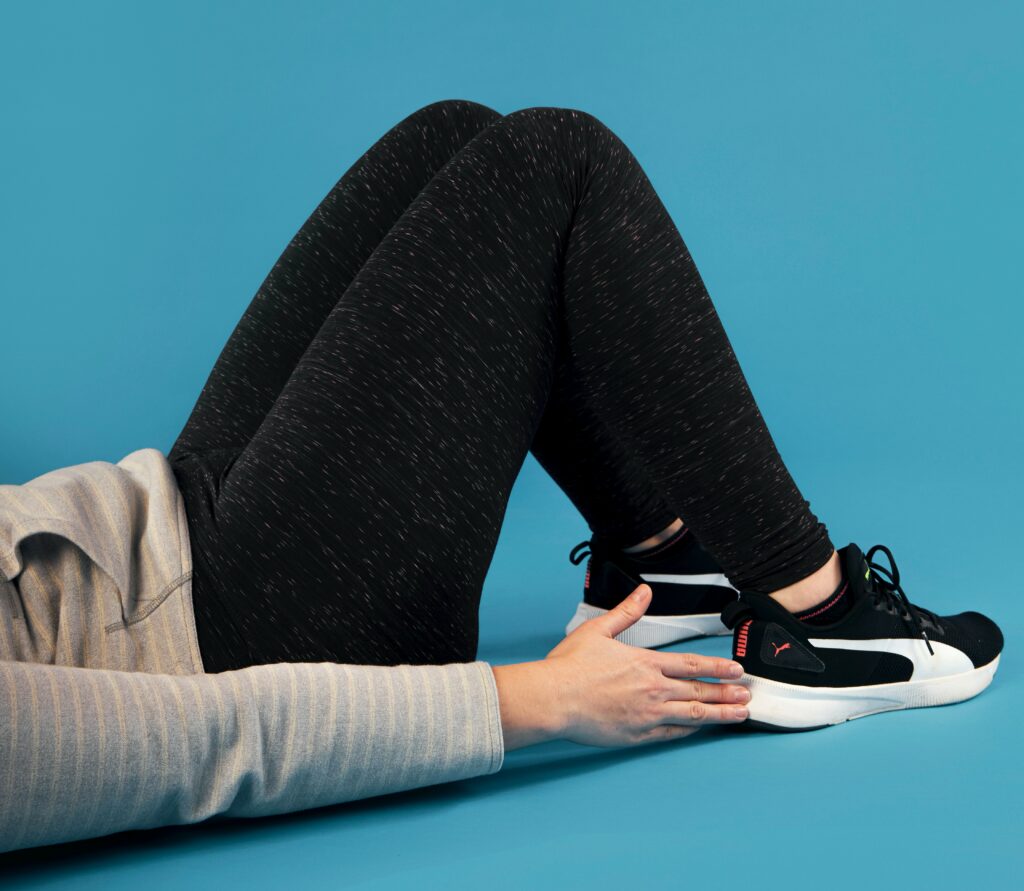
If you’re experiencing lower back pain, you may feel like your pelvic area is stuck. This gentle stretch can help you regain some mobility in the area by relieving sciatica and strengthening abdominal muscles.
How to do a pelvic tilt: Lie on a yoga mat with your knees bent and feet flat on the floor. Relax your low back in a neutral position, maintaining a slight curve in your lower back by placing your hand on top of it. Activate your core muscles, then slightly tilt your pelvis upward to flatten your low back against the floor. Repeat this movement 12 to 15 times.
12. Supine Figure 4 Stretch
The supine figure 4 stretch is a classic yoga pose that not only opens up the hips but also massages the low back. This pose targets the outer glutes and the piriformis, both of which can contribute to a tight lower back. Meanwhile, it’s an effective stretch for relieving pain and improving hip mobility.
To perform the supine figure 4 stretch, lie on your back on a yoga mat with both knees bent and feet planted on the floor. Lift your right leg, flex your right foot, and cross your right ankle over your left thigh. If you want to increase the intensity, draw your left knee in and hold behind your left thigh. Hold the pose for 10 to 15 breaths, and then switch to the other side.


